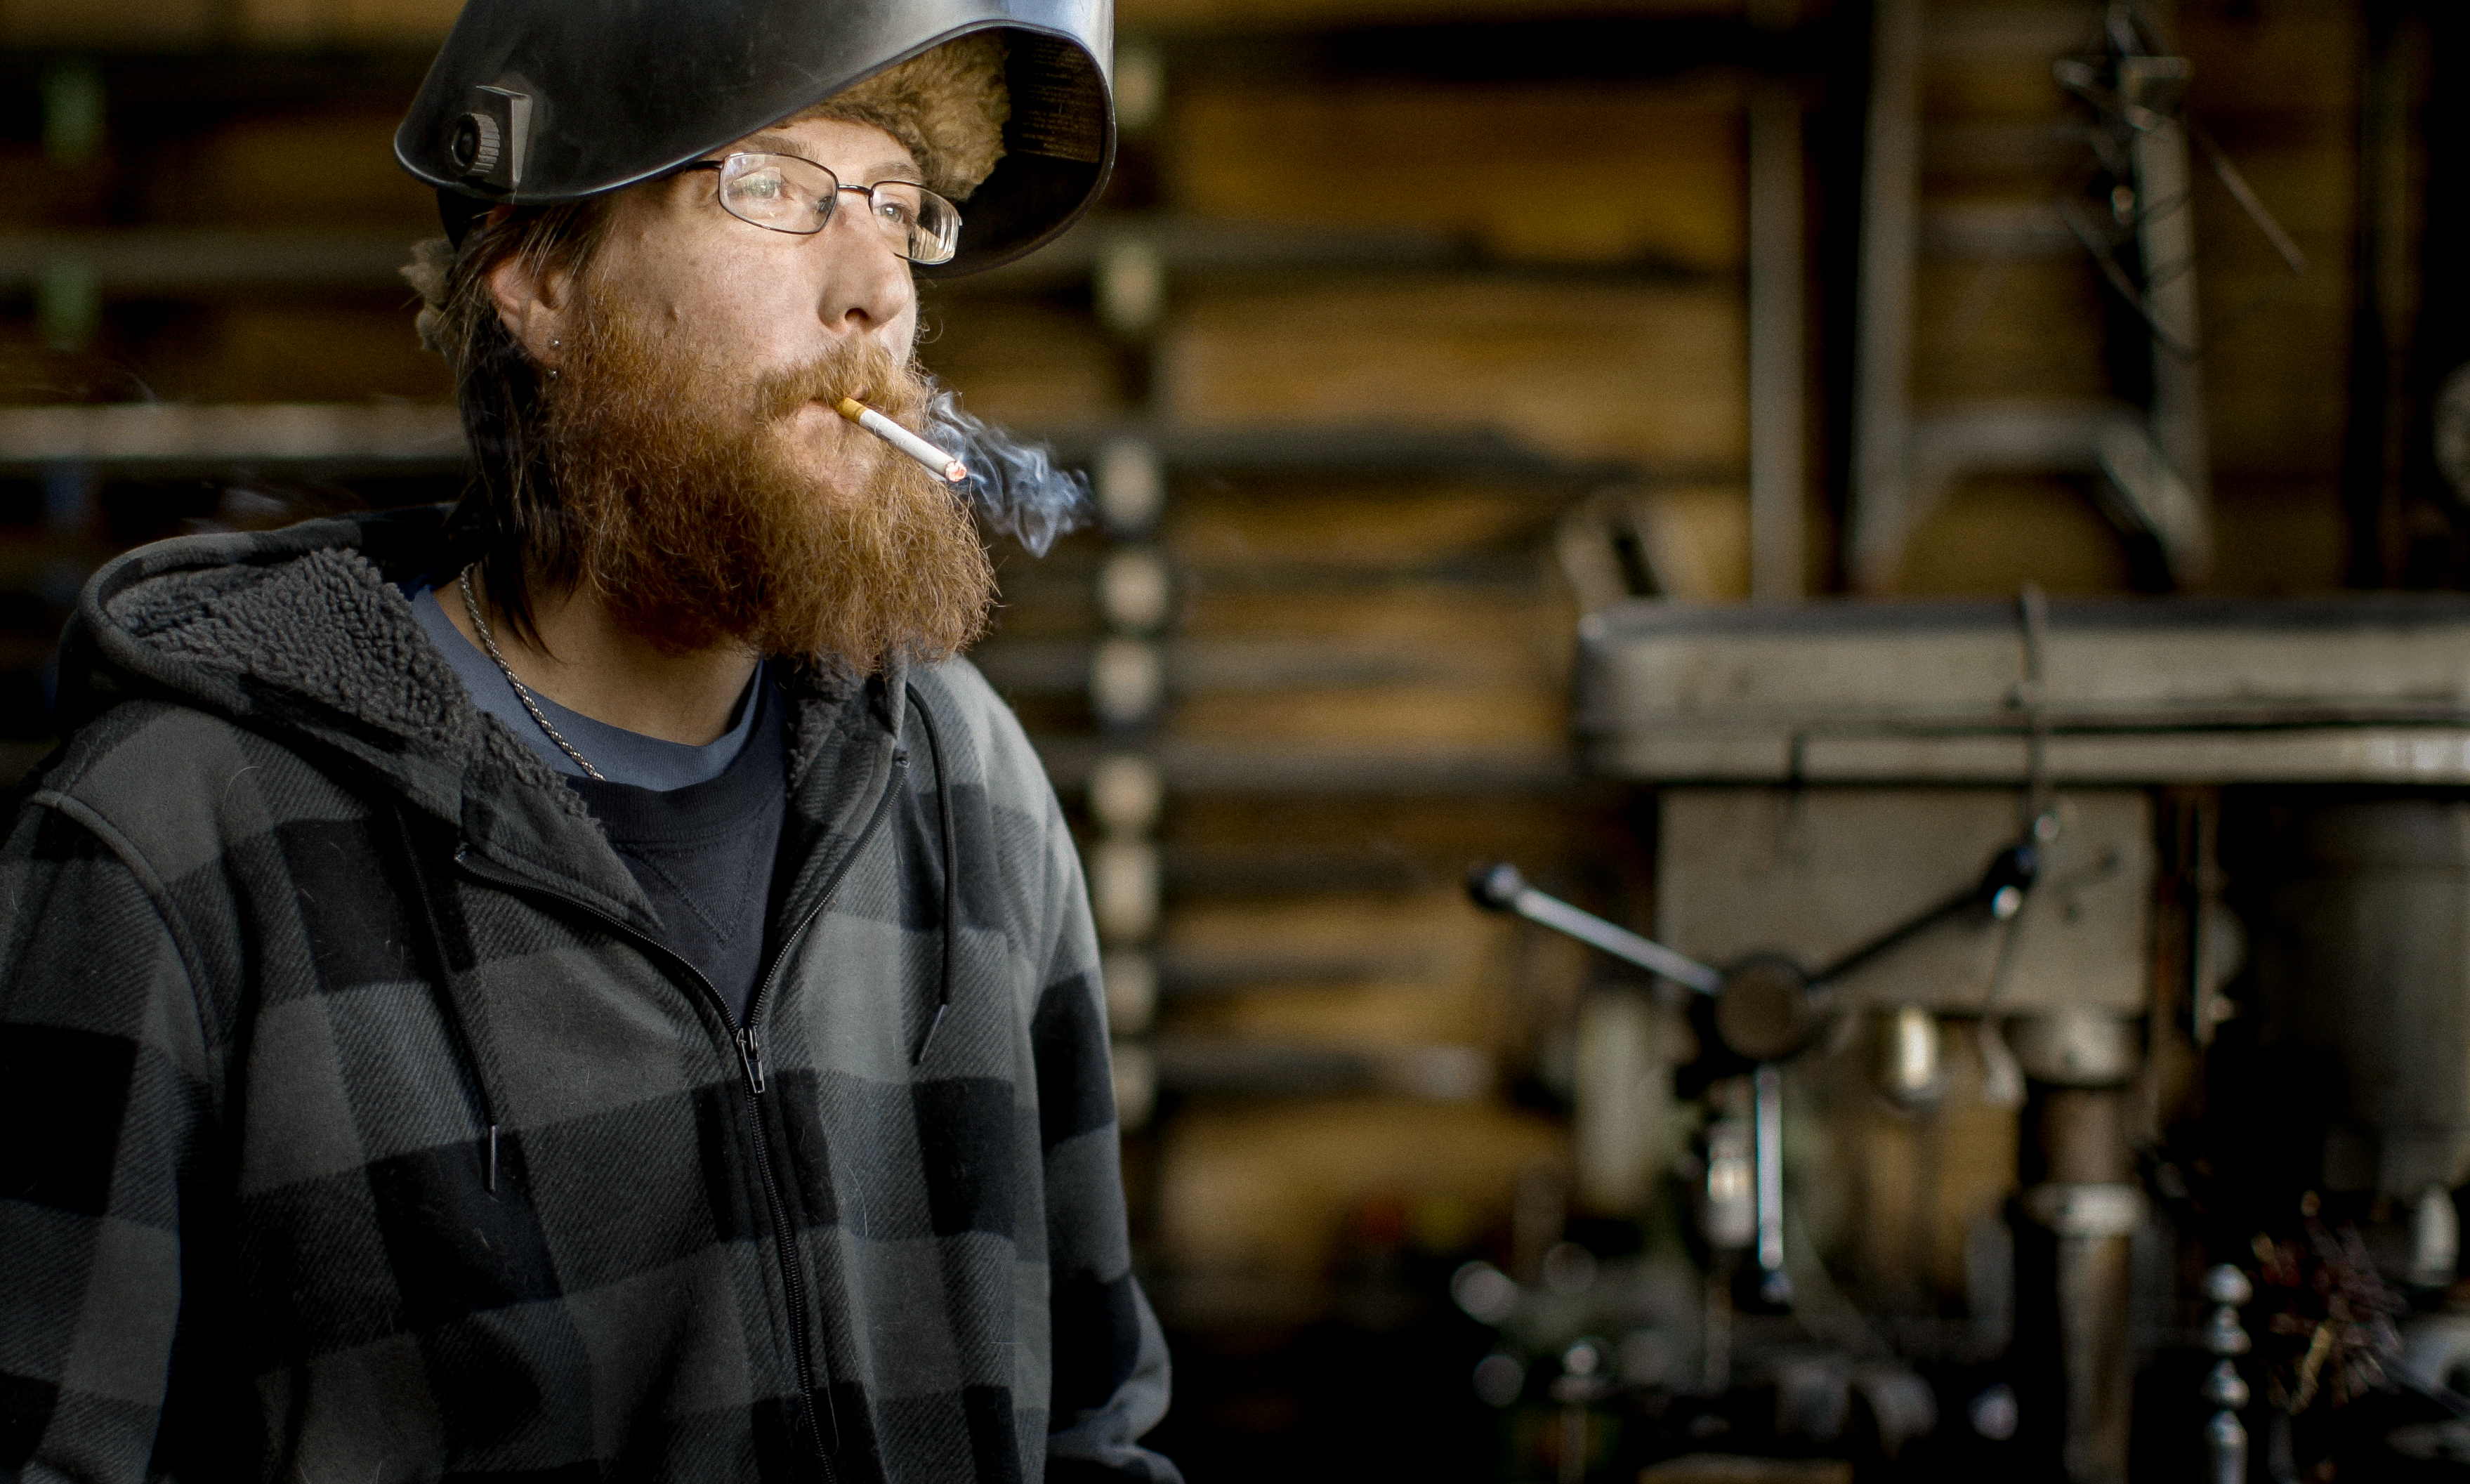
Alright, Ben here again with some help from our retoucher Draper White talking about pulling stills from 4K video on the Canon 1D-C.
Pulling stills from video is becoming more and more popular and we have started seeing requests from clients to do so. With video resolution catching up with the frame sizes of most cameras smaller than medium format, this is finally an option with 4K Cameras like the Red Epic and Scarlet, Arri Alexa, or, in our case, the Canon 1D-C.
We have had some great success in pulling stills from a video but it can be tricky. In most cases when we are pulling stills from a movie file the intention was to capture motion and not stills. Because of that, the camera is most likely set to a low shutter speed. This usually means that the majority of our frames have some motion blur so we must go through a clip frame by frame to find the shot with the least amount of motion blur. Canon doesn’t have a dedicated program for extracting stills from video files so we were left with looking at the programs that are already in our workflow to pull the best still. The Motion Jpeg CODEC means that the image quality would already be compressed to a jpeg for the still. To maintain image quality, we used either Adobe Photoshop or Premiere Pro to extract a TIFF image file from the video by either using the export frame option in Premiere or Save As in Photoshop and selecting TIFF* as the file type in each. Each program has its pros and cons: Premiere is easier to scrub through and find the right frame going frame by frame but has more setup to deal with when trying to import footage. Photoshop is easy to get a clip into (you just select the clip from Finder and open it in Photoshop) but it more difficult to go frame by frame and find the best, clearest moment. Moving forward, we’ll choose the program based on the project we are working on. If the project is mainly motion based and we are already working in Premiere, we’ll extract from in there since the footage will already imported in there. If we are only shooting motion with the intention of extracting stills, we’ll just open the singular clip in Photoshop.
*We used a TIFF file because it maintains the most information from the CODEC when exporting from Premiere. In Premiere, exporting a jpeg compresses the image even more than the motion Jpeg CODEC. In Photoshop, a TIFF is preferred as it will retain more information, but we were pretty successful with saving a high quality jpeg to save some space.
Once we extract the TIFF file, we’ll import the image into Lightroom to do the basic photo editing. Lightroom works far better for the grading than the tools in Premiere and is designed to edit and export high quality stills.
Shooting in Canon Log produces and extremely flat file. Rarely if ever will we have a pure black in a Canon log file coming from the Canon 1D-C, so the first thing we do is set the black point by decreasing the Blacks Slider. One thing to note is when shooting in Canon Log its important to give yourself room in the shadows. The log files will often give you the impression that you are not clipping your blacks, however once you begin to grade your files you will notice you have to bring up the black point quite a bit. Then all of a sudden you have very little detail in the shadows to work with. This often means using an exposure that feels a little bright. So after we set blacks up in Lightroom we will begin to adjust the highlights by bringing up the exposure and/or using the tone curve sliders. This gives us a good place to start playing with the overall feel of the image. After we’re done making our adjustments, we export out of Lightroom and we’re set!
Overall the Canon 1D-C produces great files, we found there was a little banding in some of the out of focus mid tone gradients when you begin to process the images but adding a little noise in Lightroom can help remove that. The files have a lot of latitude, especially when shooting in Canon Log and when exposed well there is very little noise even at higher ISOs.